How to Automate File System Backups on Ubuntu with Restic and Akamai Object Storage
December 08, 2025
Recently, I installed a backup program called Restic on one of my servers and configured automated backups of the file system to Akamai object storage. In this post, I'm going to walk you through how to do that.
I do have some experience with Restic already, but other than being familiar with it, here are some reasons why I'm using it:
- Fast
- Very easy to restore files
- Features deduplication
- Encrypted throughout
Part of my backup strategy is to use storage offered by Akamai. I'm using object storage for this, which currently starts at $5/month and includes 250 GB of storage. If you need more than 250 GB, Akamai has other object storage plans with more space.
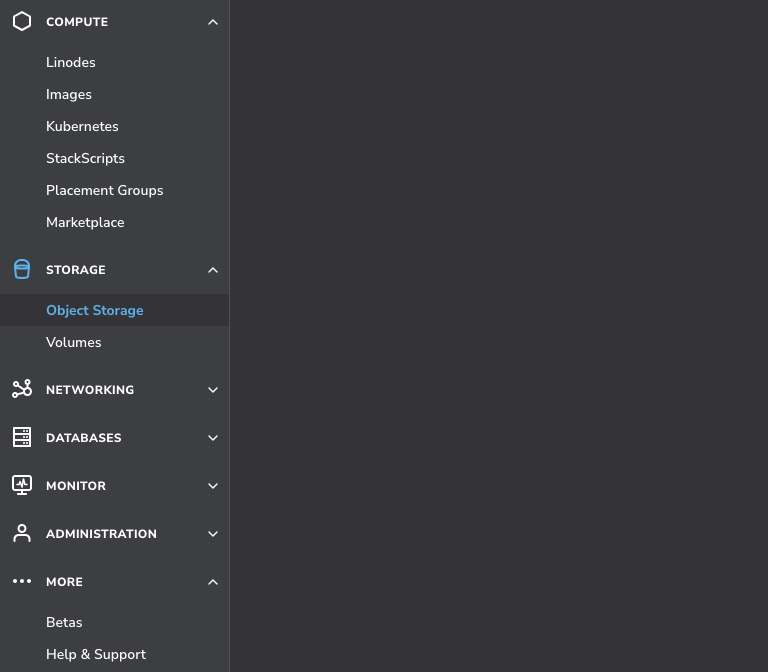
The first thing we have to do is create a bucket. We can create one by navigating to Object Storage in the left sidebar.
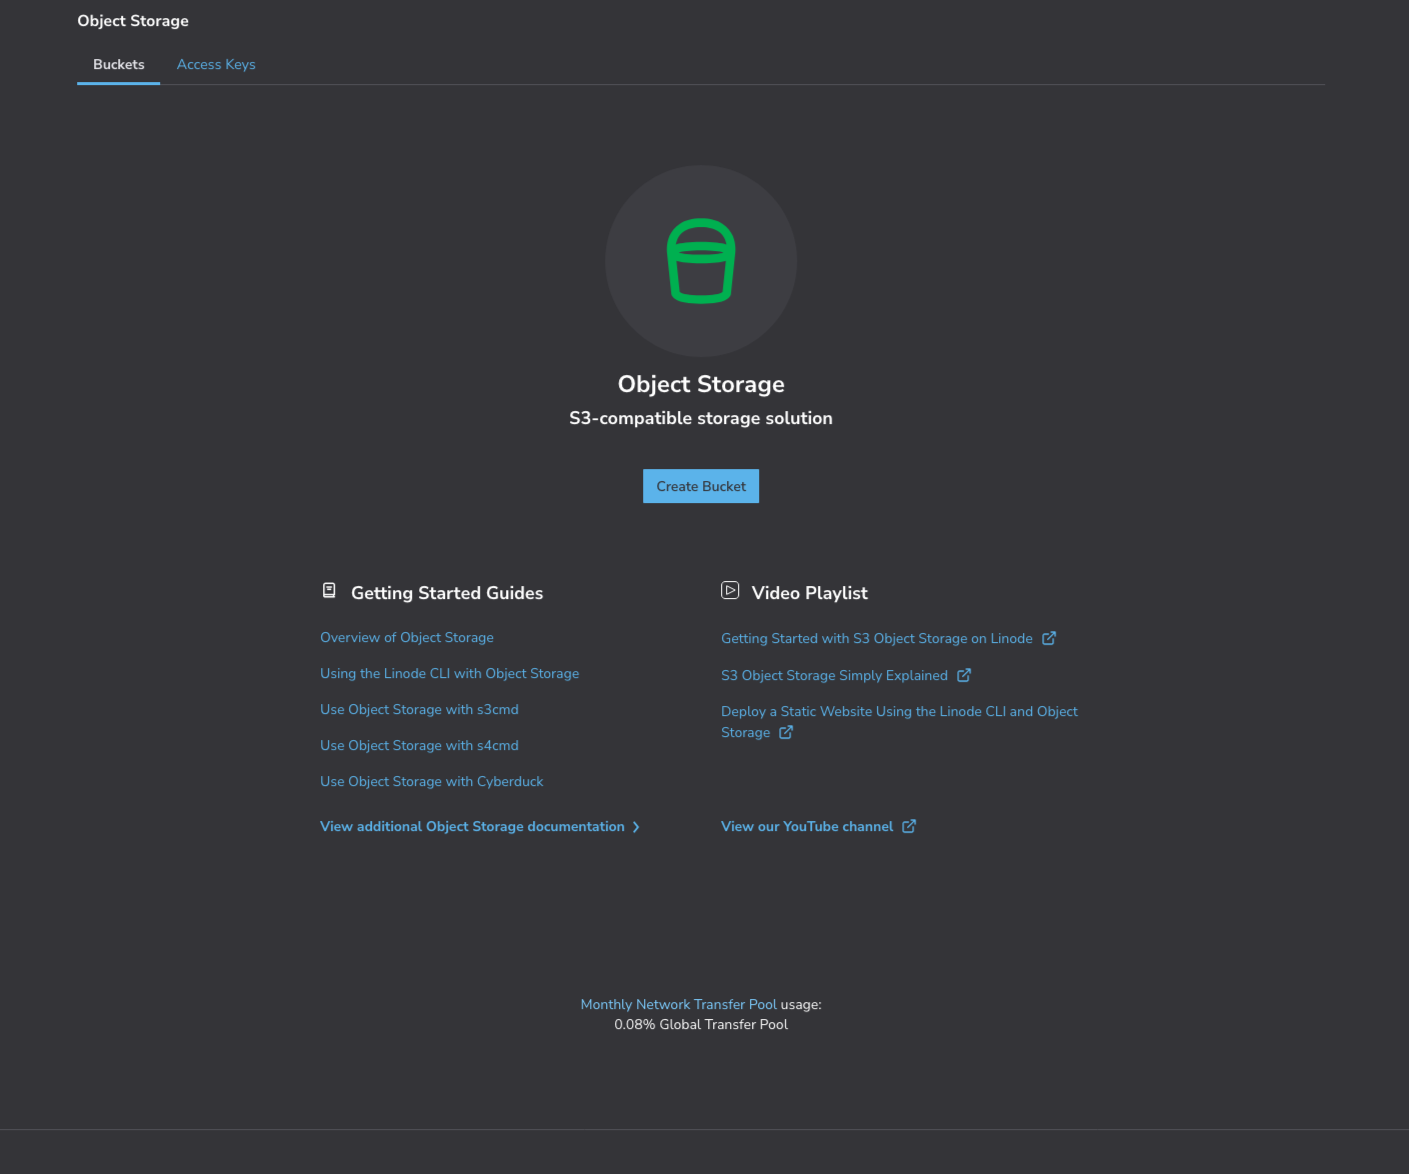
Then, click the Create Bucket button in the center of the page.
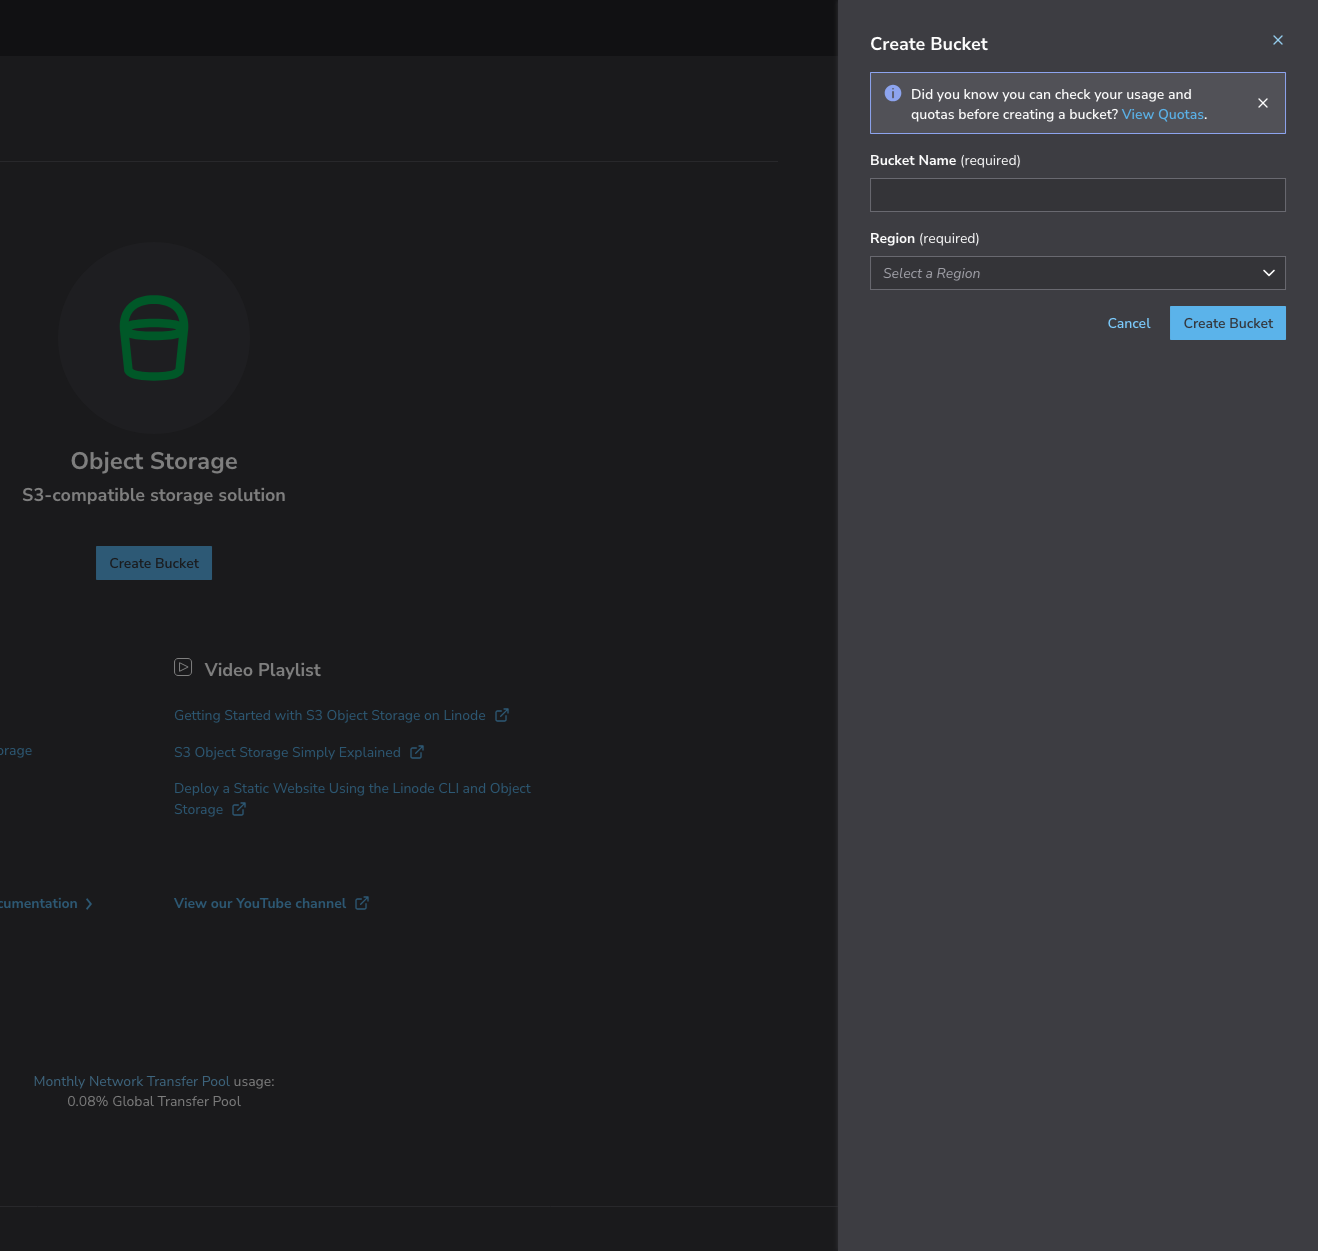
When creating one, we have to give the bucket a name, and select a region. It may be a good idea to select a region that's not the same as the server's region.
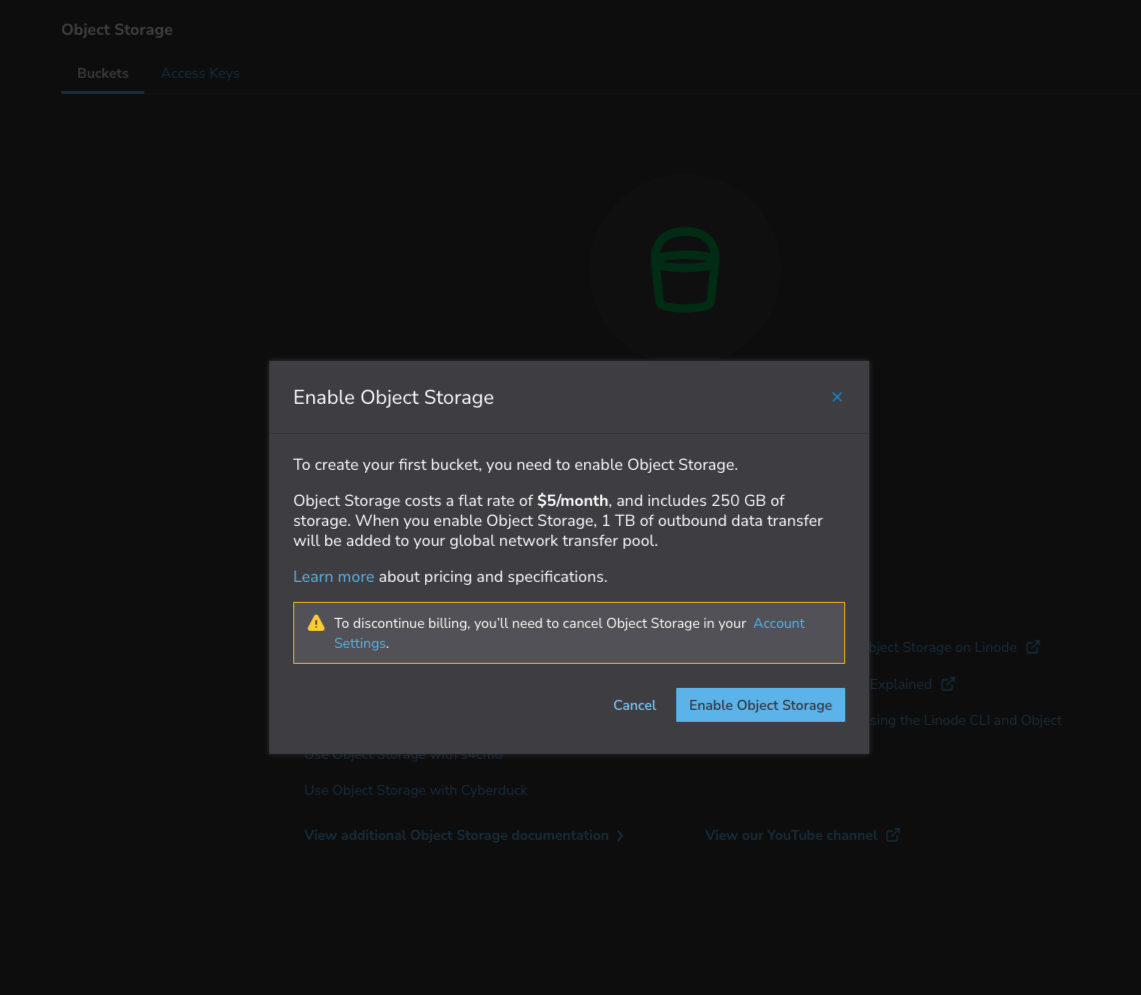
When we create a bucket for the first time, we're prompted to enable object storage.
Once it's enabled, we see some details about the bucket on the object storage page. An image isn't included for this one.
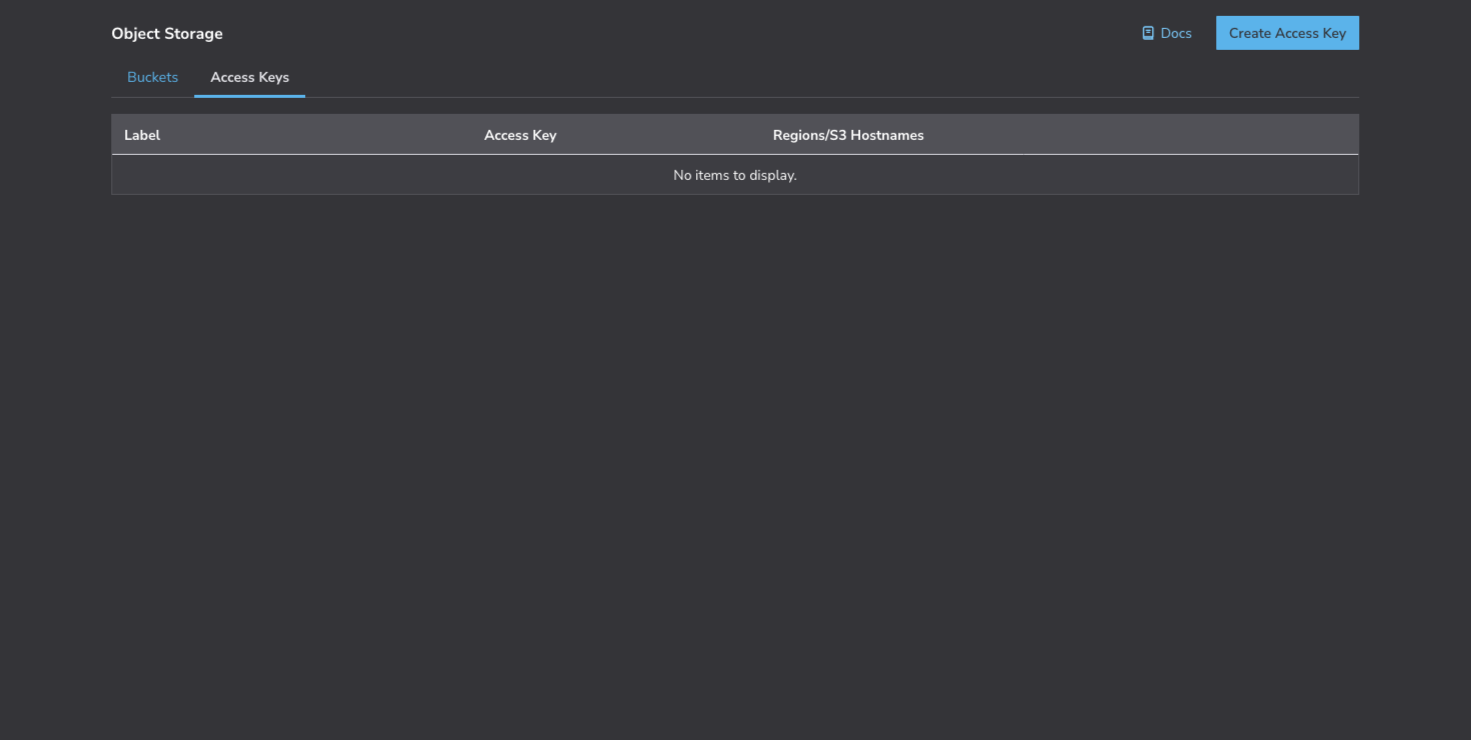
Next, we need to create an access key that Restic will use to authenticate. There's a nav item next to Buckets on the page. Select that, and then click Create Access Key in the top right.
Like when creating a bucket, a label is required here along with a region or regions. This access key is specifically for the bucket we're creating, so give it a label that indicates that, and select the region that matches the bucket. Next, toggle the Limited Access option to on, and select Read/Write for the bucket. Finally, create the access key.
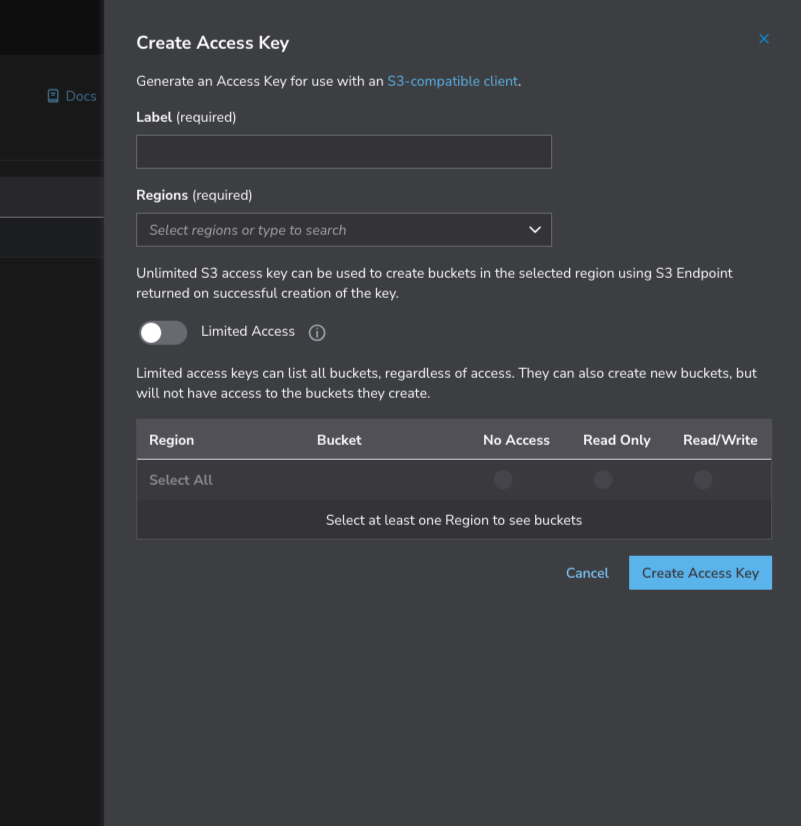
After creating the access key, we're prompted with the S3 Endpoint Hostnames, Access Key, and Secret Key. Store these details somewhere safe.
Now we're ready to get started with Restic.
On the server, we should confirm that bzip2 is installed.
command -v bzip2 > /dev/null || sudo apt install bzip2 -y
If bzip2 is already installed, we don't see any output, because we're redirecting it to /dev/null. If it's not installed, then it installs non-interactively.
Next, we create a restic system user that the backups will run as. We're allowing shell access at first. We'll close that off later.
sudo useradd --system -m -s /bin/bash restic
We're going to do some work as the restic user, so let's log in as restic.
sudo su - restic
The restic program will be installed under bin, so let's create that directory within the home folder here and set permissions.
mkdir bin && chmod 750 bin
We need to know what the latest stable release of Restic is. We can find that at: https://github.com/restic/restic/releases/latest. At the moment, it's 0.18.1. Restic can be installed by using a package manager, however, the latest stable release isn't available using that method.
Let's modify the command below to use the latest stable release, and then run it to download the binary.
curl -L https://github.com/restic/restic/releases/download/v0.18.1/restic_0.18.1_linux_amd64.bz2 | bunzip2 > bin/restic
Now, we're going to adjust the permissions on the binary. It is within restic's home folder, so it shouldn't be executable by anyone else, but we'll ensure that it isn't.
chmod 700 bin/restic
We can exit back to our user.
exit
OK, so now we're going to create the /var/cache/restic directory.
sudo mkdir /var/cache/restic
Only the restic user has business with this directory, so let's change the ownership and permissions of /var/cache/restic.
sudo chown restic: /var/cache/restic ; sudo chmod 700 /var/cache/restic
We have more to do with the restic user, so let's log back in.
sudo su - restic
Now we're going to create a .config directory and set permissions if it doesn't exist.
test -d .config || mkdir .config && chmod 750 .config
We can copy the contents of restic.conf from my repo, and then edit .config/restic.conf.
vim .config/restic.conf
Let's paste the contents, review the comments, modify, write and quit.
This file could use additional protection, so change the restic.conf permissions.
chmod 400 .config/restic.conf
Exit to our user.
exit
Not every file needs to be backed up. There are temporary files, files that only exist at runtime, and others. If you're hosting a website, then there may be dependencies installed. You need those, however, if you have say a package.json file, then they can easily be re-installed. You can create a file that serves as a list of what you want to exclude. You can then pass the filename as an argument to the restic backup command. I'm providing a basic starting point, but I'll leave it at that since what gets excluded varies person to person. We don't have to include virtual file systems, because we're going to use option --one-file-system, which will prevent restic from crossing file system boundaries.
Let's create the directory that's going to house this file.
sudo mkdir /etc/restic
Next, edit /etc/restic/restic.exclude
sudo vim /etc/restic/restic.exclude
Add the following, adjust as desired, write and quit.
/tmp
/var/tmp
/var/cache

/lost+found
We need to ensure that this file is readable by restic, so we can either check, or set permissions on it.
sudo chmod 644 /etc/restic/restic.exclude
We're going to run more commands as the restic user, so log back in.
sudo su - restic
We're going to source the .config/restic.conf file, but we'll need to export the variables, so let's run this command first to mark variables that are created for export. Then, we'll source the config file.
set -a
source .config/restic.conf
Next, we're going to initialize the repository. The repository will be created in the bucket.
restic init
We can exit back to our user.
exit
These backups should be automated. One way to do that is to use systemd timers and services. One of the services is going to write to a log file, so let's create that real quick.
sudo mkdir /var/log/restic && sudo chown restic: /var/log/restic
The timers and services belong in /etc/systemd/system, so change directories to there.
cd /etc/systemd/system
Only root can write to this directory, so create the following files using sudo:
sudo touch restic-backup.service restic-backup-prune.service restic-backup.timer restic-backup-prune.timer
I'm keeping the contents of these files in a repo, so follow the corresponding links to copy and paste. You'll have to use sudo to edit each file.
The backup service is self-explanatory, but I'll clarify what the prune service does. It removes snapshots based on the retention policy and their underlying data. The restic forget command is used to remove old snapshots, and the --prune option removes the remaining data. The prune option of forget needs to be used, otherwise, your bucket will eventually be filled with old data.
Both services run as user restic. The benefit of creating the restic user, and running backups as restic, is that we can run backups with an unprivileged user rather than root. Like the prune service, the backup service is a oneshot service. This means that unlike a daemon, once the process exits, the service becomes inactive. Both services require credentials to access object storage and the restic password to access the repository, so the path to the configuration file is included.
In restic-backup.service, the setting AmbientCapabilities=CAP_DAC_READ_SEARCH gives the process additional privileges. The process will run as the restic user, but the restic user does not have permission to read all files or traverse all directories. We can give the process itself the capability to do that. In doing so, we avoid having an additional privileged user on the system, and we also avoid having a binary on the system that has these privileges at all times, rather than only when the process is running.
Now, let's break down what this backup command includes. We're backing up from the root directory, and using the --no-scan option, which disables progress estimation. This is an automated backup, so we're not around to read the time estimation. We can disable that, and shave off some I/O. Using the --verbose option, we'll get more detailed output, and we can later read it if we like in the systemd journal. We've touched on --one-file-system already, so that just leaves $BACKUP_EXCLUDE_OPTIONS, which expands to --exclude-file /etc/restic/restic.exclude.
There's a restic check command. Per the docs, it's recommended to run the command regularly to make sure that the internal structure of the repository is free from errors. The last line of this service includes an example of how you could run the command after a backup and write the output to a log file. To improve upon this, you could notify yourself if there are errors. If you do keep this command in the service, then you may want to configure log rotation. The files are small in size, but they'll become clutter.
In the restic-backup-prune.service, we run restic forget, followed by --verbose for details, the retention policy, and finally --prune. Since we covered the details of this already, let's move on.
The timers are simple. One runs daily, and the other at an early hour once a week. The services are activated by these timers.
We've added the services and timers, but we need to reload the systemd manager configuration. Run the following command.
sudo systemctl daemon-reload
Next, we need to enable and start the timers.
sudo systemctl enable --now restic-backup.timer restic-backup-prune.timer
The --now option started them.
We can move back to our home directory.
cd
We set the restic user's shell to bash to complete some tasks, but now it's time to disable shell access.
sudo usermod -s /sbin/nologin restic
Confirm that you can no longer log in as restic.
sudo su - restic
The output should read: This account is currently not available.
Finally, we can test this out. The services aren't scheduled to run right now, but we can manually start each service.
Begin with the backup. The first run of this may take some time.
sudo systemctl start restic-backup
Once that completes, confirm that the backups completed successfully by checking the systemd journal.
sudo journalctl -u restic-backup
You should also have that restic check log file now within /var/log/restic.
Next, manually start the prune service. This one will go very quickly.
sudo systemctl start restic-backup-prune
Like before, check the systemd journal to see how things went.
sudo journalctl -u restic-backup-prune
That's that. We achieved quite a bit here. We've now automated file system backups to object storage.
If this was helpful to you and you'd like to show your appreciation, feel free to buy me a coffee. Every little bit helps, and your support means a lot! Thanks!
The Restic documentation is located at restic.readthedocs.io/en/stable.
If you don't have an Akamai Cloud account and you'd like to try it out, please use my referral link to get a $100, 60-day credit once a valid payment method is added to your account.
Thanks for reading!